A few days back we shared a video on how to remove Xperia Z5 back cover to replace the rear panel or camera and now a full tutorial on how to disassemble Xperia Z5 has arrived.
We are pointing out this very clearly that do not perform below mentioned steps at home as you may end up damaging your Xperia Z5 (and voiding its warranty also) so in case you are facing any issues, take it to the service centre.
[ VIDEO ] Xperia Z5 teardown/disassembly
Check out the video how to teardown Xperia Z5.
[ PICS] Xperia Z5 teardown/disassembly
Check out step by step tutorial on how to teardown Xperia Z5 in pics.
Instruments needed: Heat gun, Small suction cup, Philips #1 screwdriver, spudger, tweezer, iFixit Opening Picks set of 6.
Step 1: Remove SIM card tray from Xperia Z5. 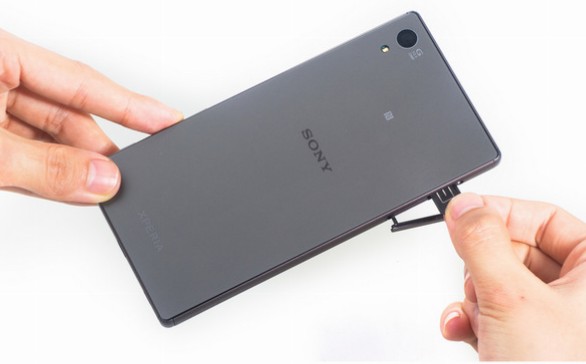
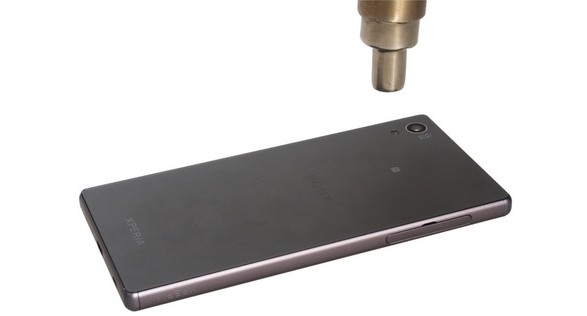
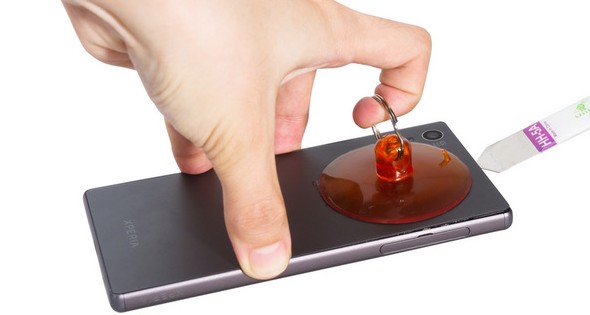
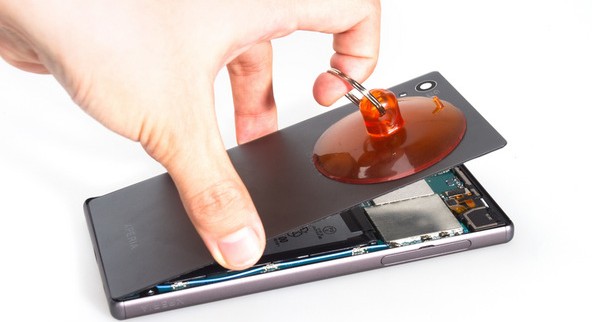
Step 2: Now heat the back panel of Xperia Z5 to soften the adhesive.
Now place the suction cup on the back panel and insert a metal opening tool at top to open a gap from topside.
Step 3: Now insert the guitar pick and slide it cut the adhesive at the sides of Xperia Z5 panel.
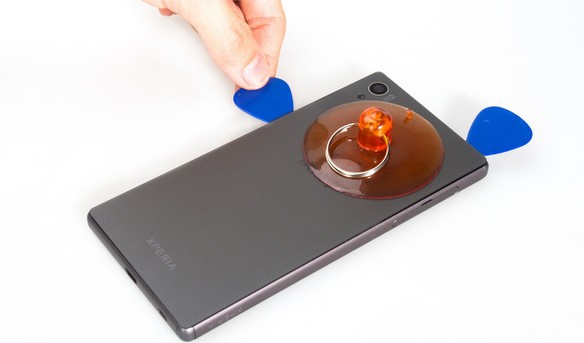
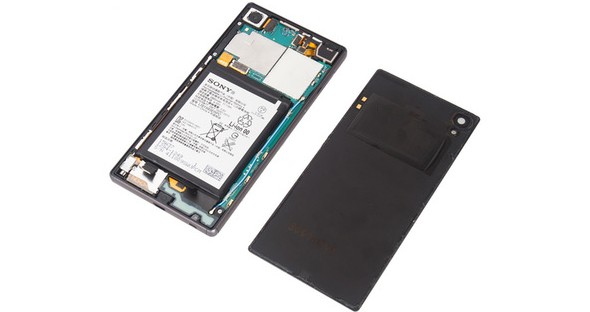
Remove the back cover.
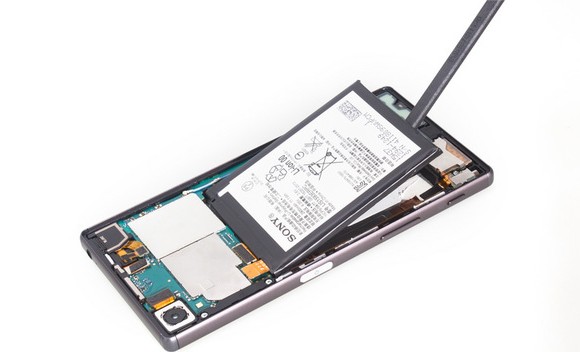
Step 4: Release the battery connector and then pull off the adhesive tape underneath.
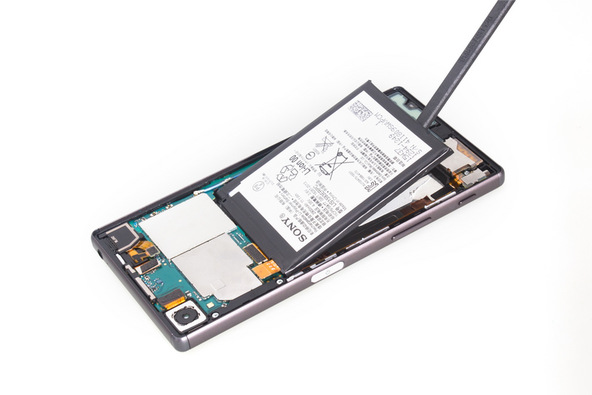
Pry up battery.
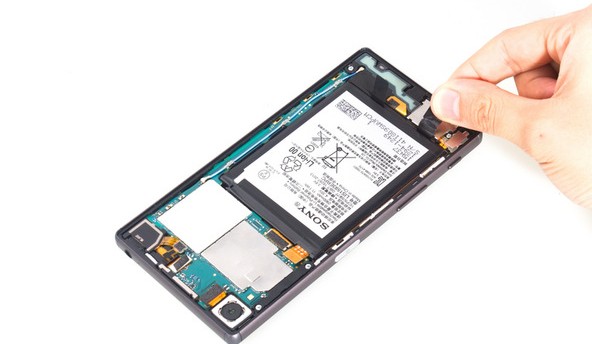
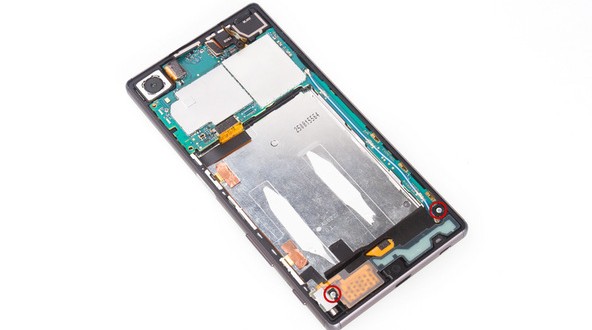
Step 5: Now release rear camera connector, front camera connector, audio jack flex connector and, main flex connector on the motherboard and then remove the screws there.

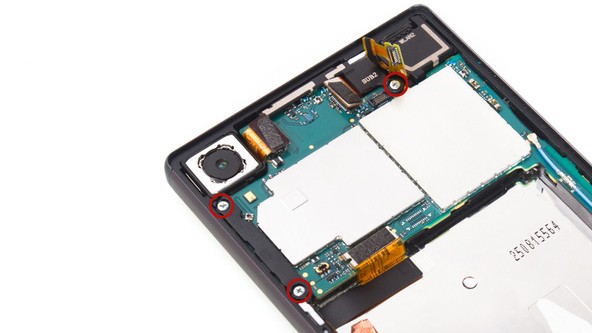
Take away the plastic bracket now.
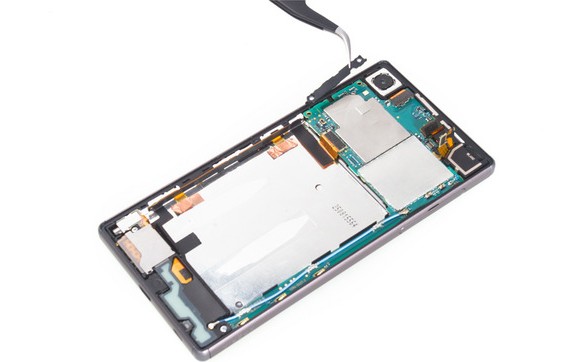
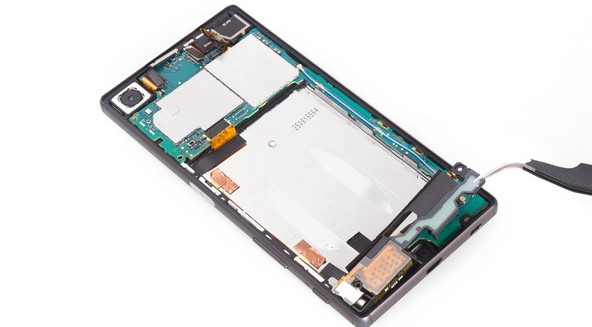
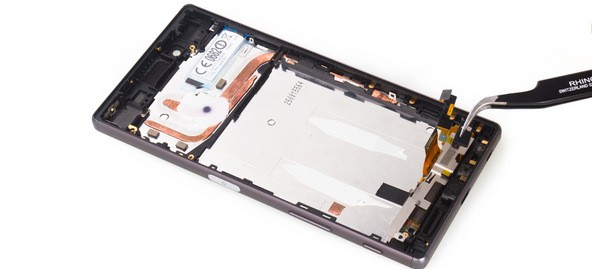
Step 6: Remove metal cover securing loudspeaker and twist off screws from Xperia Z5 now.
Pry up and loosen the bottom side of main flex assembly of Xperia Z5 now.
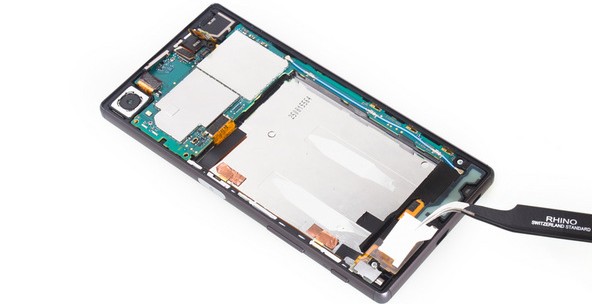
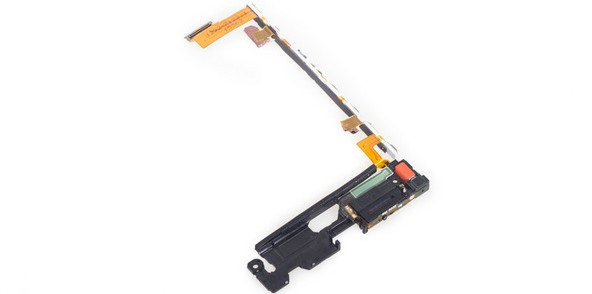
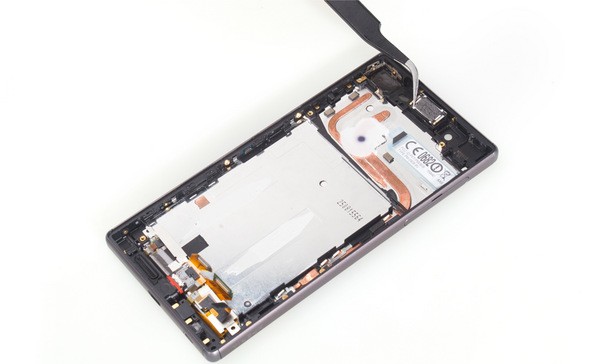
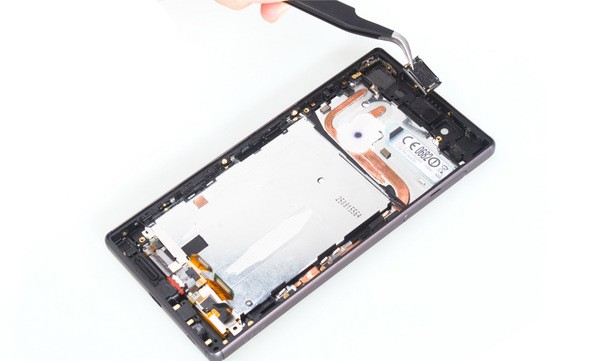
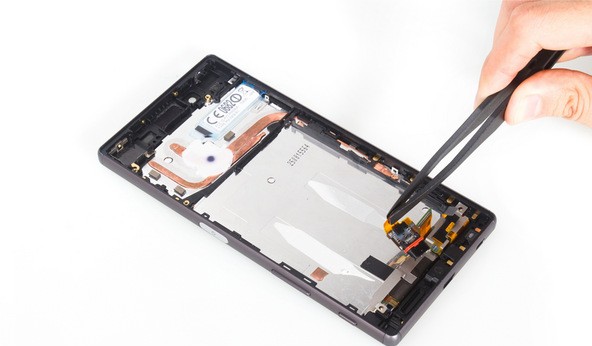
Step 7: Removing main flex. ( Attention: the fingerprint sensor connector is here, be careful to loosen it)
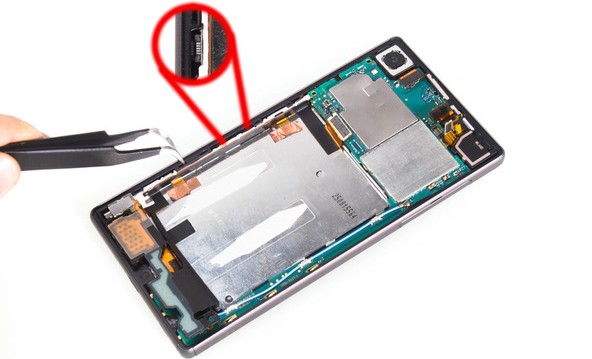
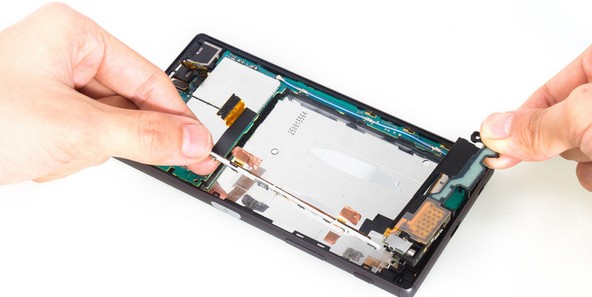
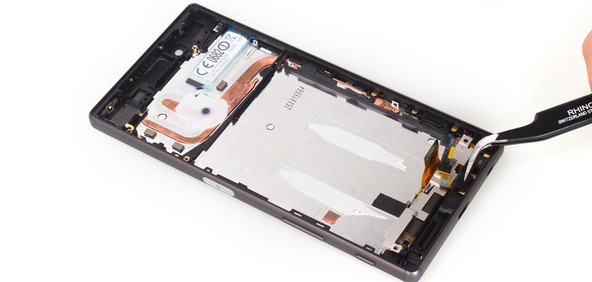
Step 8: Below is the main flex assembly. (It comes with loudspeaker and vibration motor )

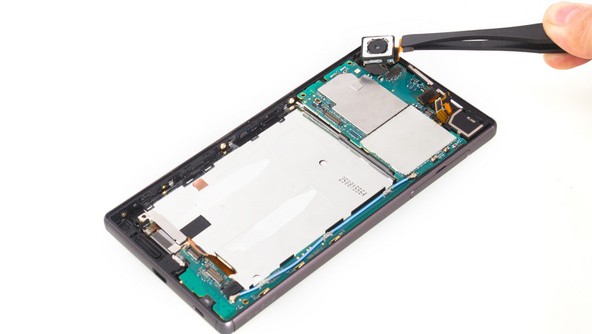
Step 9: Removing rear camera of Xperia Z5.

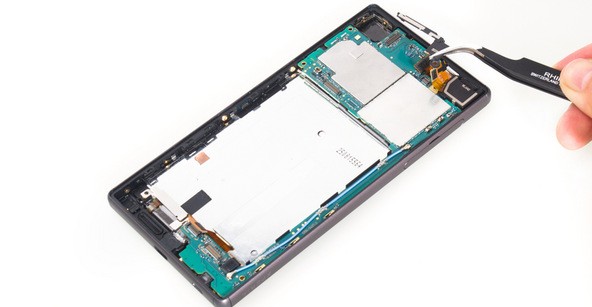
Step 10: Remove that securing bracket, then remove front camera.
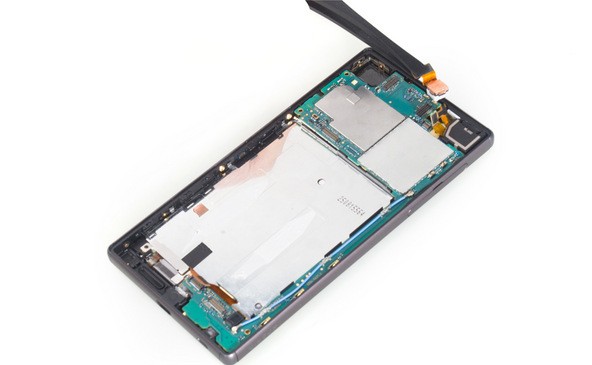

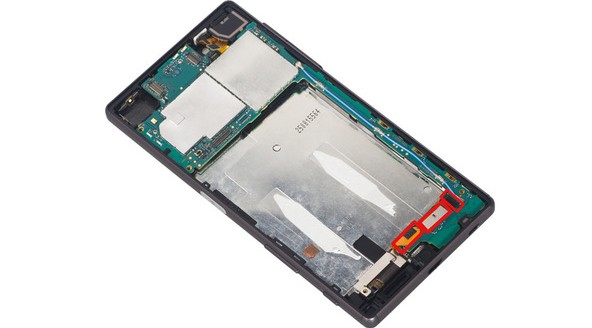
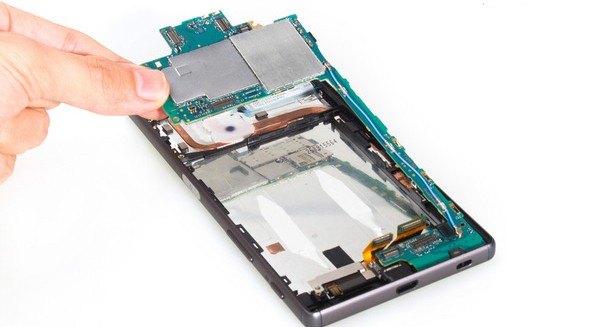
Step 11: Now release the connectors on the motherboard.

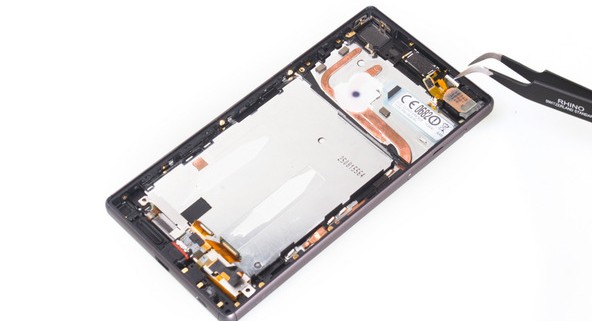
Step 12: Remover cover bracket on the audio jack

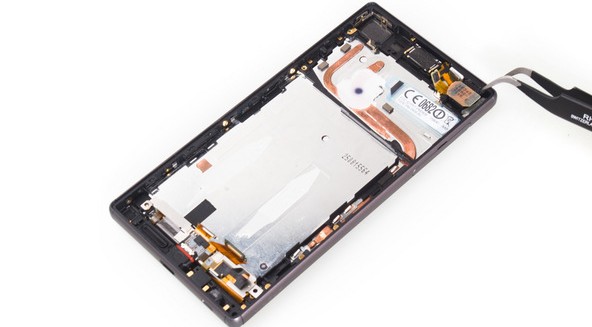
Cut adhesive at the top of the audio jack and noise canceling mic, then remove it.
Step 13: Below you can see the audio jack flex coming with noise canceling mic.

Step 14: Cutting the adhesive underneath the earpiece and then remove the earpiece.

Step 15: Removing the capless USB port.


Step 16: Removing microphone.
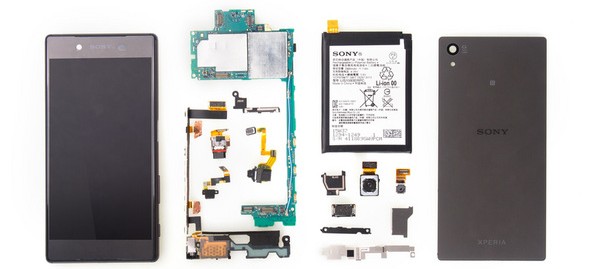
 Step 17: It’s done. Xperia Z5 is disassembled.
Check out hands on Xperia Z5 vs Xperia Z5 Premium comparison here.


